Foraging Sloes, Haws and Rosehips: An Autumn Hedgerow Walk
October 10, 2026 - Outdoors


October 10, 2026 - Outdoors

October 09, 2026 - Outdoors

October 05, 2026 - Crafts

October 04, 2026 - Crafts
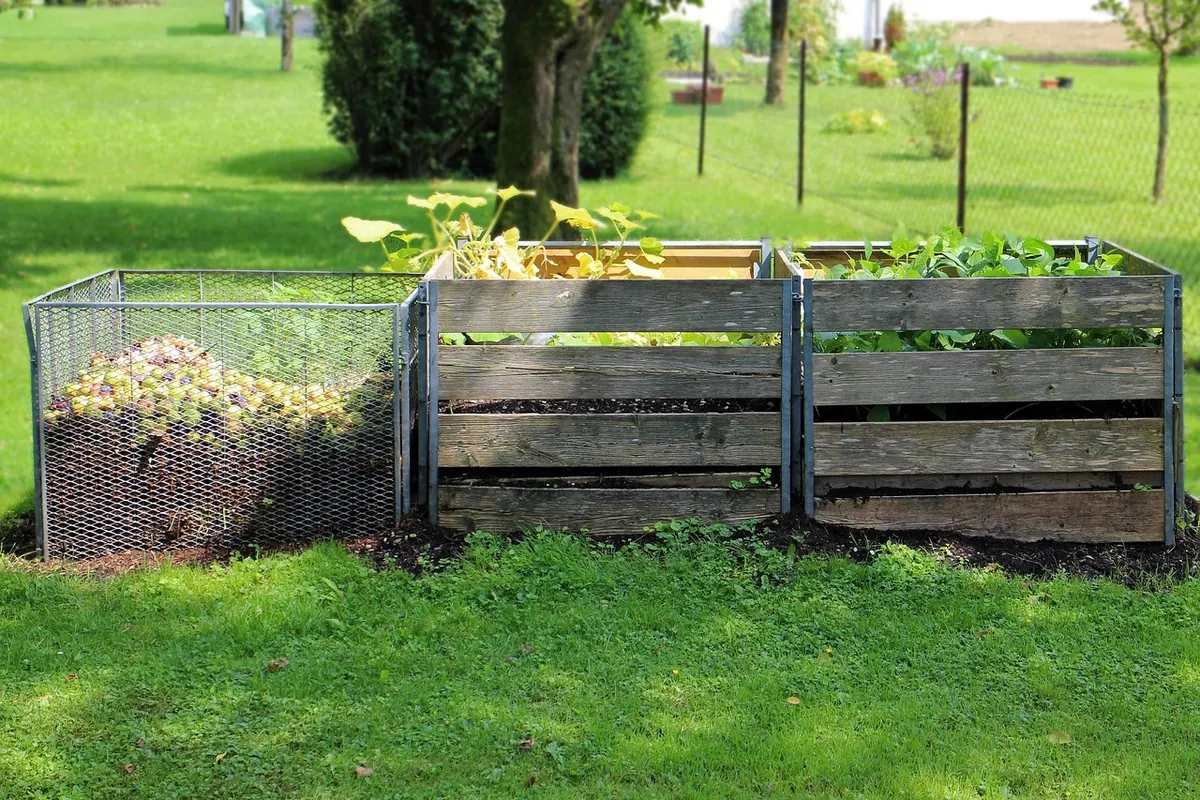
Two square metres of paving, a bag of peelings every week and a fence that puts the whole plot in shade by three o'clock — that's the reality of a lot of small UK gardens. So which do you buy: a compost bin or a wormery? The answer usually comes down to four things: what you actually throw away, how much room you have, how much you mind smells and flies, and how quickly you want something to spread on the beds. Get those straight and the choice is easier than the garden centre makes it look.
Before you look at bins, spend a week noticing what goes in the caddy. If it's mostly vegetable peelings, tea bags, coffee grounds, eggshells and grass clippings, both systems will cope happily. If it's cooked leftovers, bread, pasta and the occasional fish skin, a standard heap will sulk and a wormery will manage small amounts. Most households produce a mix, so be honest about which pile is bigger.
That single question — peelings or plates — rules one system in or out faster than anything else.
A heap wants volume to work well. A hot heap is usually described as needing roughly a cubic metre of material to build up heat; a plastic dalek-style bin takes far less but works more slowly. Either way you're looking at something about a metre tall with a footprint of around 80cm across, sitting on level ground. It also needs to be reachable in the rain, and ideally away from a neighbour's seating area or open window.
A wormery is a different proposition. Most models are about the size of a recycling box, stacked in two or three trays with a sump and a tap at the bottom. That means it can live in a shed, under a bench, in a shaded corner by the back door, or on a balcony where a heap simply isn't an option. It needs shade in summer, frost protection in winter, and a flat surface.
If your only outdoor space is paving or a balcony, a wormery wins by default. If you have a strip of soil at the end of the garden, a heap gives you far more capacity for the space it takes.
A heap is the budget option. A basic plastic bin costs little, a pallet bay can be built from free pallets if you can source them, and a wire ring held with stakes costs almost nothing. There are no ongoing purchases beyond a bag of browns if you run short of cardboard.
A wormery costs more up front. You can buy a stacked tray system with a tap, or make one from two or three lidded storage boxes with holes drilled in the bases and a tray underneath to catch liquid. You'll also need a starter culture of tiger worms — the small, striped composting worms, not the big grey ones from the flowerbed, which won't thrive in a bin. Ask on a local gardening group; established wormeries multiply and people are often glad to pass some on. Some councils also subsidise home composting bins and wormeries, so it's worth a look before you buy.
Be realistic about the payback. A wormery bought to save money on potting compost will take years to break even. Buy it because you want to keep food waste out of the bin and get a steady supply of crumbly castings and liquid feed.
A well-run heap smells of damp woodland. A sour, slimy heap is a sign it's gone anaerobic — usually too wet, too many greens and not enough air. The fix is the same every time: add torn cardboard, paper or dead leaves, turn it over, and leave the lid on.
Aim for a mix that feels like a wrung-out sponge. Alternate a layer of green material with a layer of brown, and turn the contents every few weeks if you can face it. If you can't, at least keep adding browns on top after every kitchen scrape.
Position matters for neighbourly relations: a wormery under a kitchen window in July is a conversation you don't need to have. Shed or shaded corner is better.
A hot heap built in one go and turned every few days can give you usable compost in a couple of months. A cool heap that you add to as you go takes six to twelve months, sometimes longer over a wet winter. A wormery produces its first harvest of castings in roughly two to four months, and after that you can take small amounts continuously from the bottom tray.
Winter slows everything. Heaps go quiet; worms slow right down below about 10°C. Wrap the wormery in bubble wrap or old fleece, or move it into a shed or garage, and don't expect much progress between December and March.
Choose the spot first, then the system — not the other way round. For a heap, clear level ground, sit the bin on soil if you can so worms and microbes can move in, and start with a layer of twiggy material at the bottom for drainage. For a wormery, set up the bedding (damp shredded paper or coir), add the worms in the evening when it's cooler, leave them a week to settle, then feed a small handful at a time.
Keep a lidded caddy by the sink, line it with newspaper, and empty it every couple of days. Whichever system you pick, the routine is the same: little and often, plenty of browns, and a quick check now and then. Do that and you'll have a setup that quietly turns waste into something worth digging in.
Photo: Antranias / Pixabay
A seasonal guide to spotting sloes, haws and rosehips in British hedgerows, picking them without stripping the bush,...
A beginner's tickable guide to the most common UK garden birds, pairing each one's markings with its call and the...
October 10, 2026 - Outdoors
October 09, 2026 - Outdoors
October 05, 2026 - Crafts
Copyright © 2026 Sprig Page. All Right Reserved.