Foraging Sloes, Haws and Rosehips: An Autumn Hedgerow Walk
October 10, 2026 - Outdoors

October 10, 2026 - Outdoors
October 09, 2026 - Outdoors
October 05, 2026 - Crafts

October 04, 2026 - Crafts
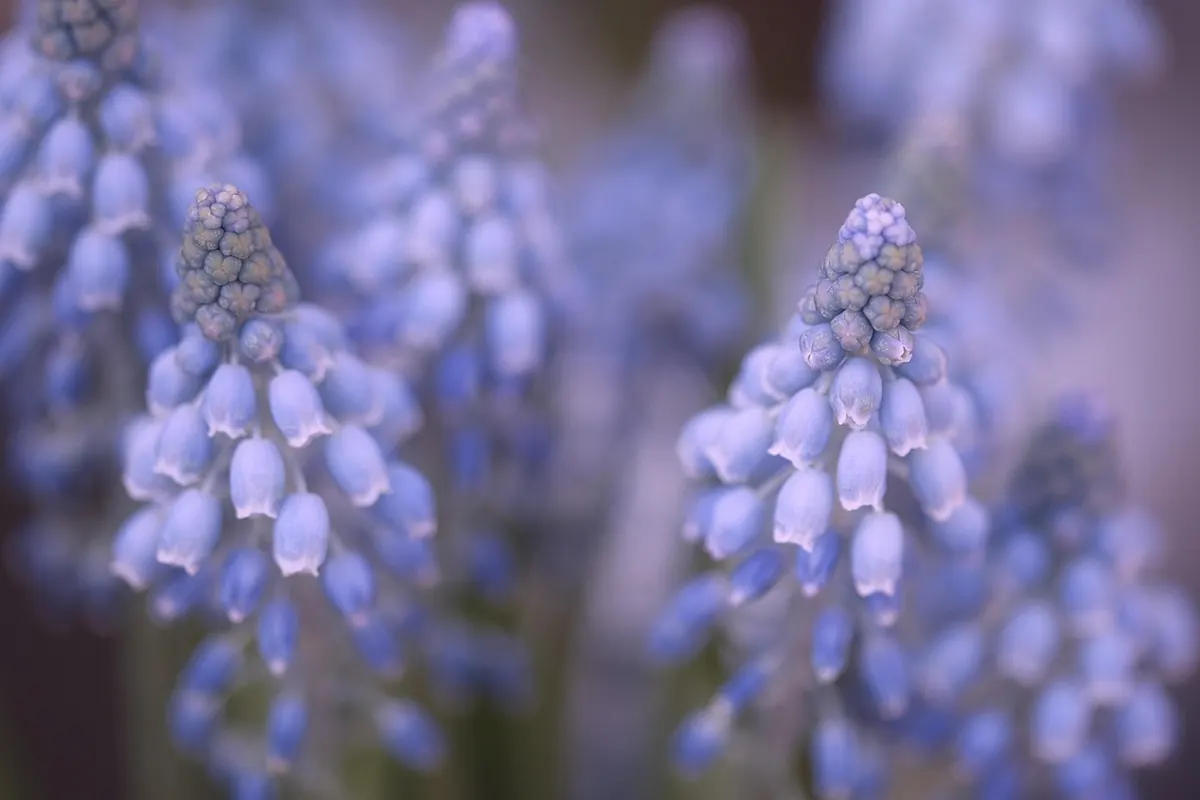
Spring bulbs are the most generous plants in the garden. You push a dry, unpromising lump into the soil in autumn, forget about it, and four months later it hands you a daffodil. Few things in gardening deliver so much for so little effort. Which is exactly why it stings when they come up blind, flop over, or vanish altogether.
Most bulb failures are not bad luck. They come down to a handful of avoidable mistakes, and nearly all of them happen in the first hour of planting or the last fortnight after flowering. Get those right and your bulbs will bulk up and multiply year after year.
This is the mistake I see most often, usually because someone has dug a hole that feels deep enough and stopped there. The rule of thumb is simple: cover the bulb with soil measuring three to four times its own height. A fat daffodil bulb sitting 5cm tall wants roughly 15cm of soil above its nose. Large tulips are happiest at 15–20cm, alliums often deeper still, while small crocus and snowdrops only need about 8–10cm.
Plant shallow and the problems stack up. Frost lifts the bulbs out of the ground, squirrels and mice find them easily, stems splay outwards instead of standing up, and the bulb splits into a cluster of tiny non-flowering offsets instead of one strong flower.
Useful technique:
Bulbs hate winter wet far more than they hate cold. A border that puddles in January, or a patch where moss and rushes thrive, will rot most bulbs before Christmas. If you can see standing water after heavy rain, that spot is for moisture-lovers, not tulips.
Where drainage is marginal, you have options. Work in plenty of garden compost and grit to open up the soil structure. Plant on a gentle mound or the slope of a raised bed rather than in the hollow. In containers, make sure there are drainage holes, add a layer of crocks or gravel, and use a loam-based compost mixed with about a quarter grit by volume. Never let a pot sit in a saucer of water over winter.
Bulbs are forgiving, but there are windows. Narcissi and most small bulbs settle in best from late September through October, while tulips are better left until November — planting them later reduces the risk of tulip fire, a fungal problem that disfigures the leaves. Hyacinths and alliums do fine in October and early November. Snowdrops are the exception: they establish far more reliably planted "in the green" in early spring, just after flowering.
Plant too early in warm soil and bulbs may push up soft growth that winter then cuts down. Leave it too late, into frozen or waterlogged ground, and the bulbs use up their stored energy before they can root. If the ground freezes before you have planted, keep the bulbs somewhere cool, dark and dry — a shed or garage, not the airing cupboard — and get them in as soon as conditions allow.
The leaves are not mess. They are a solar panel charging next spring's flowers. Cut them off while they are still green and the bulb has no way to replace what it spent flowering, which is why a brilliant first year is so often followed by a disappointing second.
Leave foliage for at least six weeks after the flowers fade, and ideally until it has turned yellow, papery and comes away with a gentle tug. Do not tie it in knots, plait it or fold it over — all of that reduces the light reaching the leaves.
What you can do is deadhead, snapping off the faded flower and seed pod while leaving the stem intact. Then hide the yellowing leaves behind something that is only just waking up: hardy geraniums, alchemilla, brunnera or ornamental grasses will all rise around them and disguise the decline.
Bulbs arrive with their own packed lunch, but a border that has been planted for years will run short. Before planting, fork over the top 20cm or so and work in well-rotted compost or leaf mould. A handful of general-purpose slow-release fertiliser or bonemeal in the planting hole helps, sprinkled where the roots will find it rather than touching the bulb directly.
The important feed comes later. After flowering, while the leaves are still green, give them a liquid tomato feed or a dilute sulphate of potash every fortnight or so. Avoid high-nitrogen feeds at this stage: they encourage leafy growth at the expense of next year's flowers.
Planting in a single tidy row, spaced like beads on a string, never looks right. Bulbs want to arrive in drifts. As a rough guide, set them two to three bulb widths apart so they have room to multiply into a clump, and scatter a handful loosely across the ground before planting where they land — it gives a far more natural result than laying them out on a grid.
In containers, layering works beautifully: tall tulips or daffodils at the bottom, dwarf narcissi in the middle, crocus or grape hyacinths near the surface, all separated by a couple of centimetres of compost. Just do not layer bulbs so densely that they are touching.
Two last oversights worth naming. Squirrels will dig up anything they can smell, so lay chicken wire just below the surface or mulch with gravel on top. And label your plantings in pencil, on both sides of the label, because ink fades and by next March you will have no idea what is coming up where.
Do those six things and the same bulbs will reward you for years, clumping up and spreading into drifts you never actually planted. It is the closest thing gardening has to free money.
Photo: HeiKiwi / Pixabay
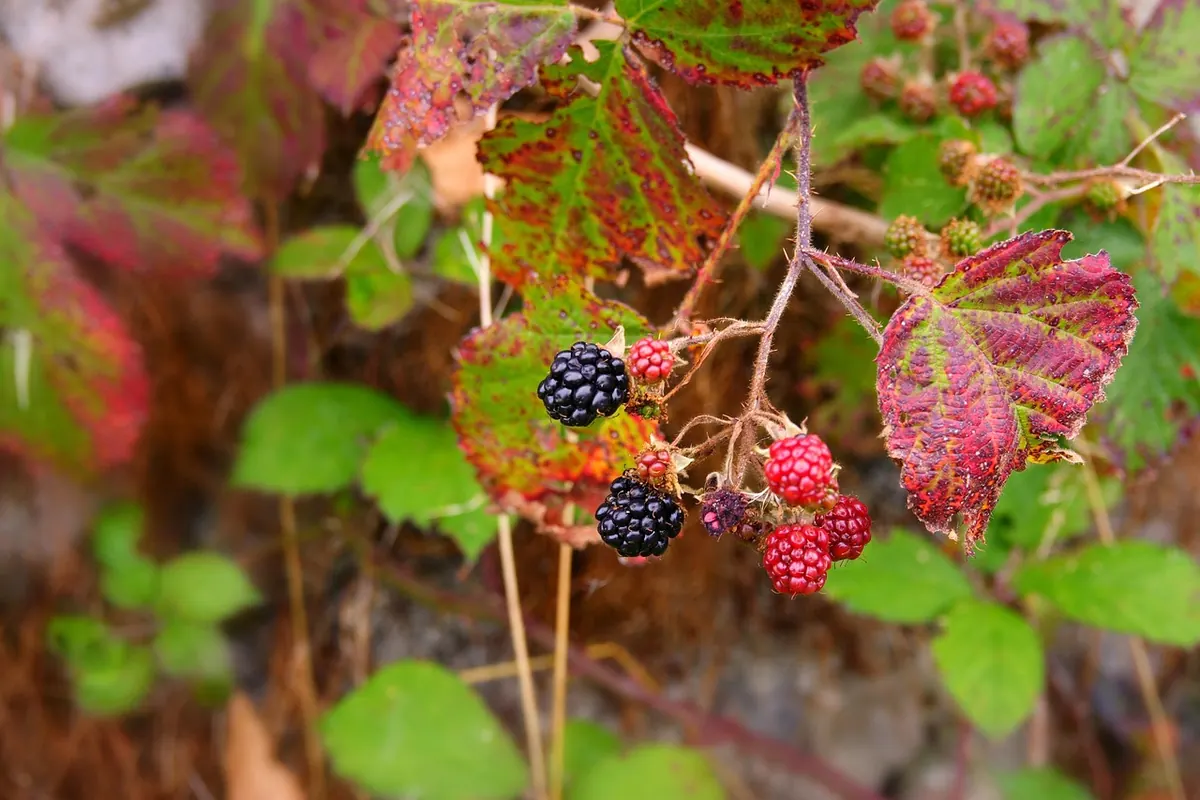
A seasonal guide to spotting sloes, haws and rosehips in British hedgerows, picking them without stripping the bush,...
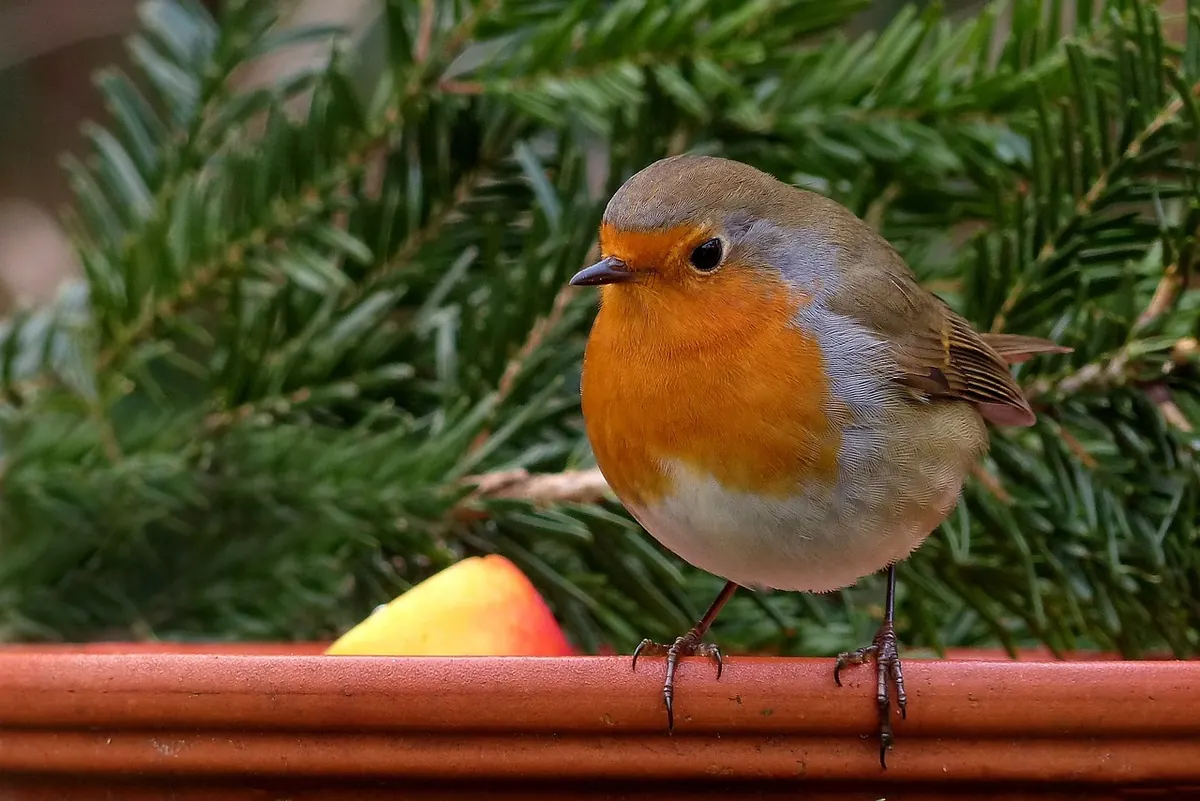
A beginner's tickable guide to the most common UK garden birds, pairing each one's markings with its call and the...
October 10, 2026 - Outdoors
October 09, 2026 - Outdoors
October 05, 2026 - Crafts
Copyright © 2026 Sprig Page. All Right Reserved.